TikTok Live Studio with Capture Card – Mac Setup Guide
Now that TikTok Live Studio for MacOS has officially launched in Canada, it’s time for a setup guide for Mac users. If you prefer your setup guides as videos, scroll to the bottom of this post for a video walkthrough of the same steps we’re going to talk about here with text and screenshots. This post will not discuss livestream eligibility, and there do not seem to be any concrete facts. The reality is, myself and many streamers can go live without the 1,000 follower requirement, but why we are exempt and other users aren’t remains a mystery.
First-time TikTok LIVE Studio Setup
You’ve downloaded TikTok Live Studio, you’ve logged in, and now you’re greeted with the setup screen: “It starts on LIVE Studio.”
It’s not the worst idea to go through the beginner setup. It’ll run a network test and set up some basic scenes, but if you stick with me we’ll rip apart all those basic scenes anyway. Still, the network test will allow you to set the recommended settings, giving you the best possible look for your stream.
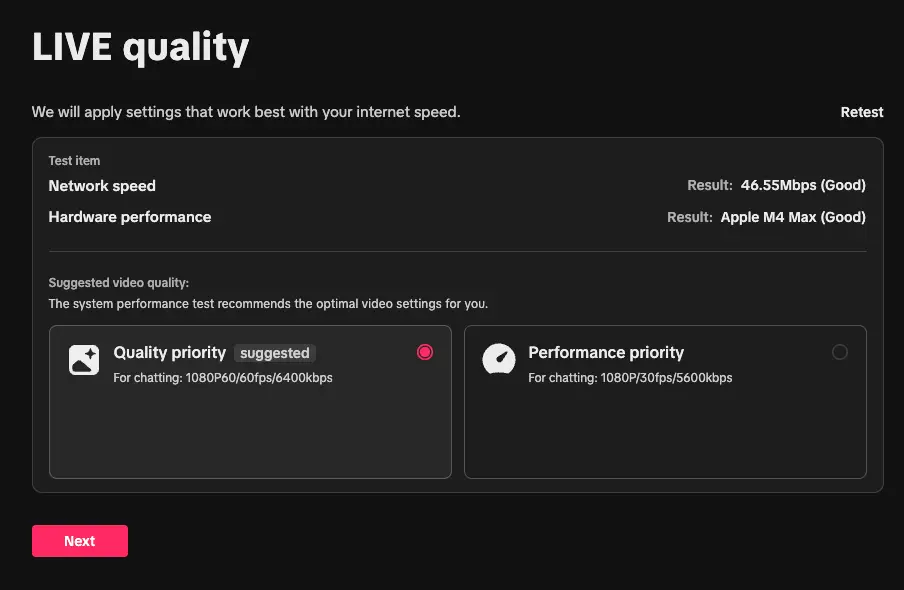
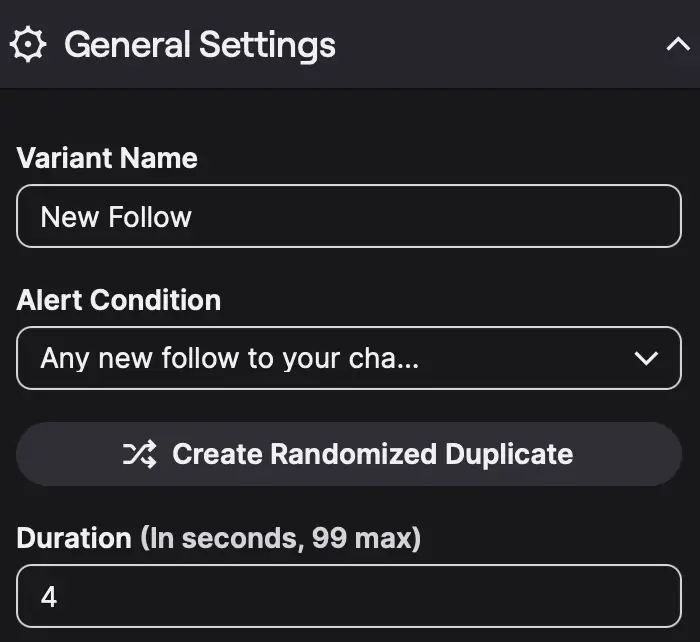
My internet got tested at 46.55 Mbps upload and it recommended 1080p, 60 fps, 6400 bitrate. Not bad—my previous settings actually had only 6000 bitrate, so this is better than before. You can change these later if needed, or if you’re sharing your bandwidth with OBS, but let’s finish up the menus here first.
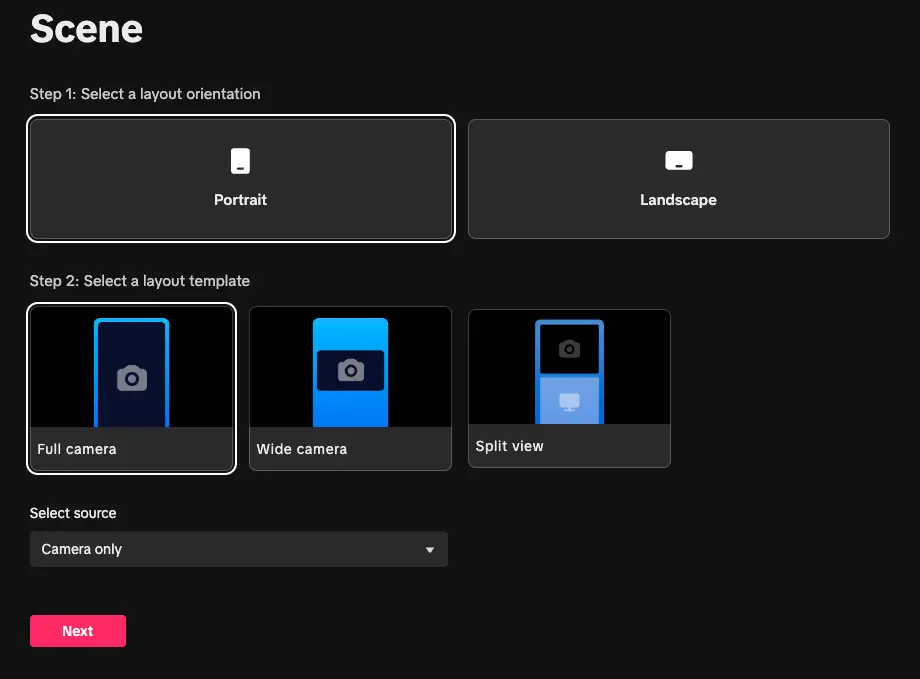
On the Scene screen, I’m going to suggest we just click Next on the defaults, as we’re going to set this up manually after.
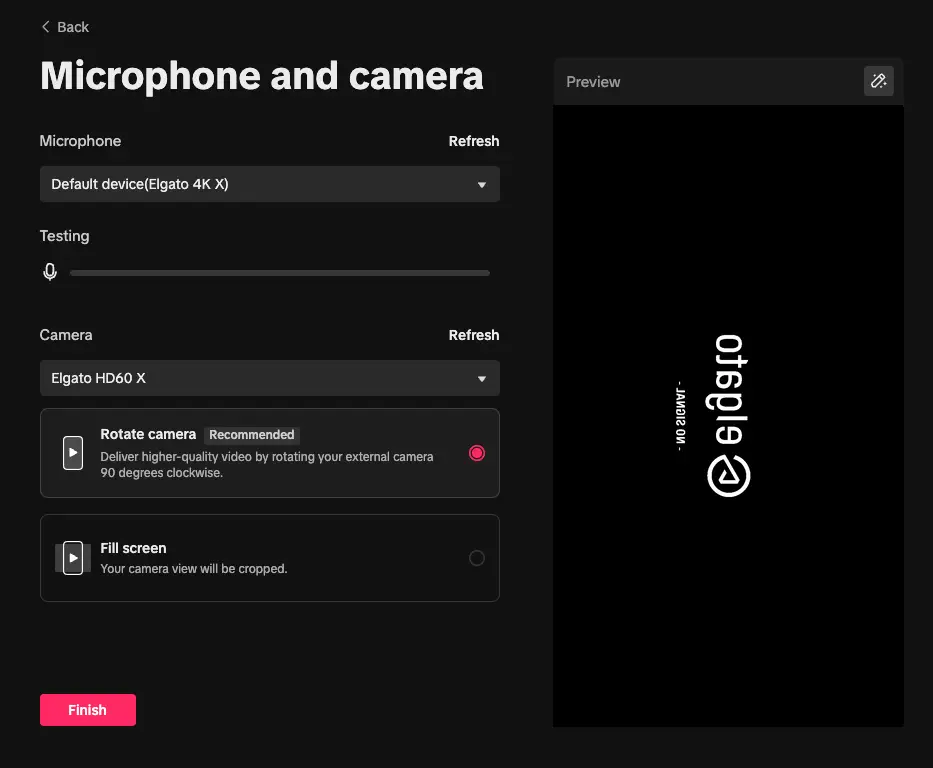
Same deal here. Especially if you’re streaming from a capture card, you will not be able to set up audio properly at this stage. Click Finish, and we’ll move into manual settings.
Next, the Real Settings
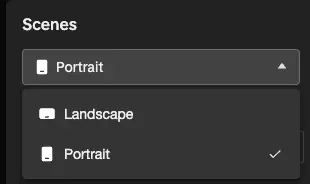
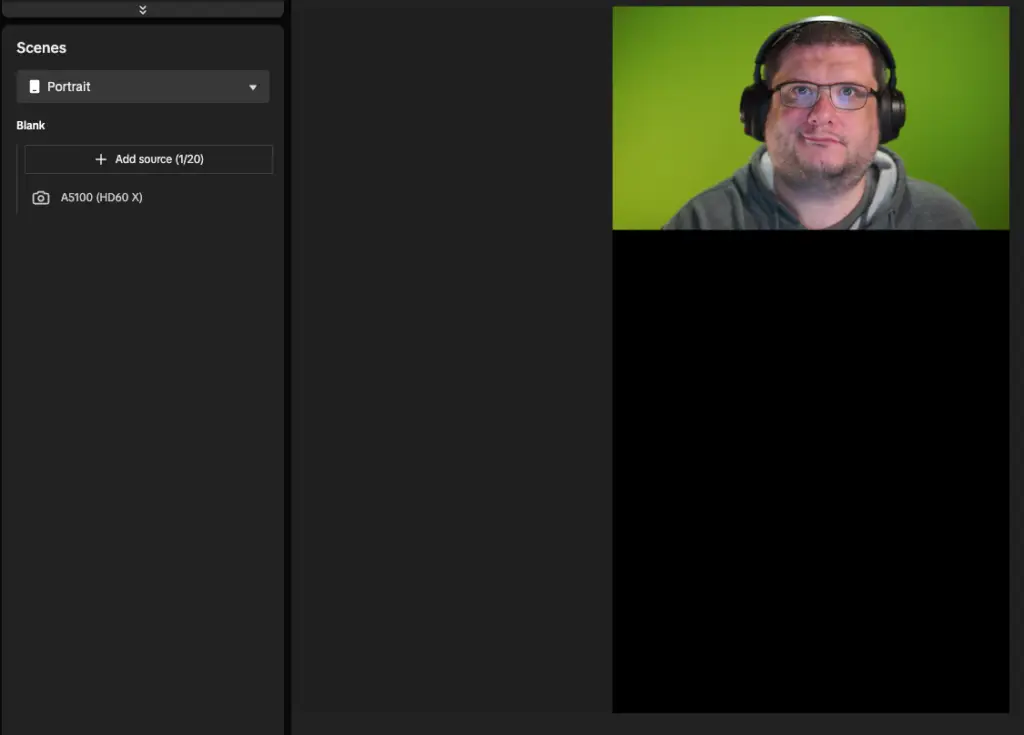
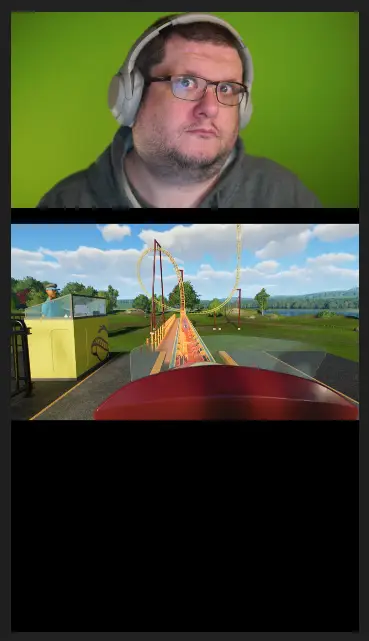
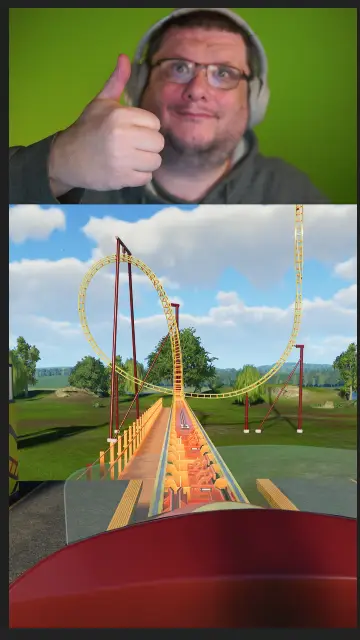
The first thing you’ll need to choose is your orientation. Portrait is the classic TikTok experience. Your stream will fill the screen, but your gameplay will likely need to be cropped. Landscape will allow viewers to turn their phones for full screen, or have the entire stream in the top third of their screen, with chat below. This also makes your camera quite small. Normally, Portrait puts chat over the bottom half of the screen, so either your face or your gameplay can be obscured. I usually stream in Portrait and make sure that my camera is at the top of the screen, and my gameplay at the bottom. We’ll get there, and I’ll show screenshots of how it looks. On Windows, TikTok LIVE Studio supports dual-output mode, allowing users to switch between Landscape and Portrait at will. Currently, this is not available on Mac. If it becomes available on Mac, I recommend using that. I will try and update this article if and when that feature becomes available.
Whether you choose Portrait like me or Landscape, the next steps are more or less the same: Add the required sources, then add optional sources. Gameplay is obviously required, and TikTok is quite particular about cameras. The software wants you to have a camera on, engaging with your audience. When I was testing, it prevented me from going live with an error that I did not have a camera and could not go live.

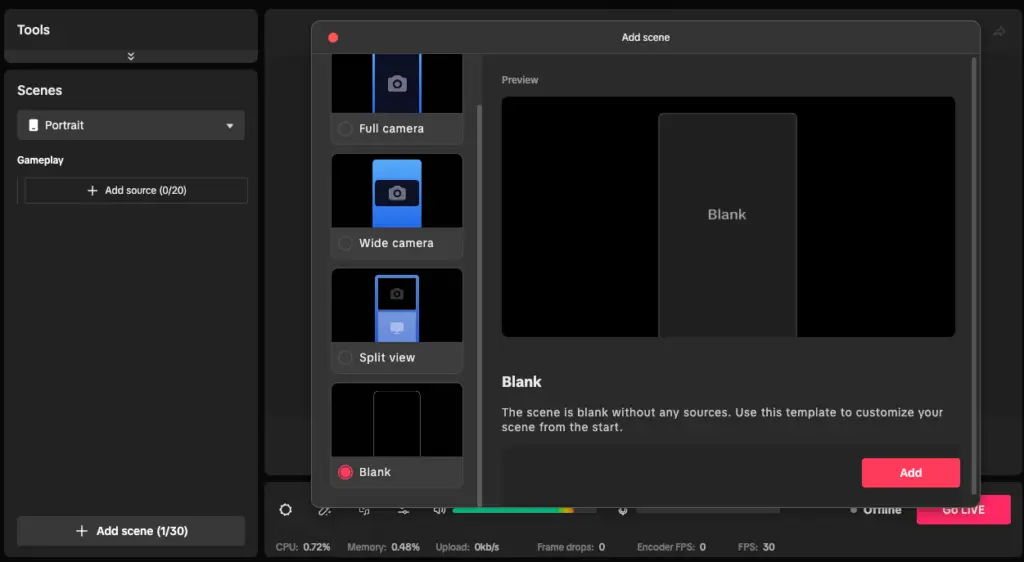
I deleted all of my default scenes and was left with just one “Gameplay” scene. You can’t delete the last scene in a collection, so this is our starting point, so I recommend doing the same. Click “Add scene” and then click Blank, then Add. Before moving on, delete whatever the other scene is so you start fresh, with “Blank.”
Adding sources is going to require a bit of planning and testing. At a bare minimum, you should have gameplay, a camera, and alerts. Let’s start with your camera.
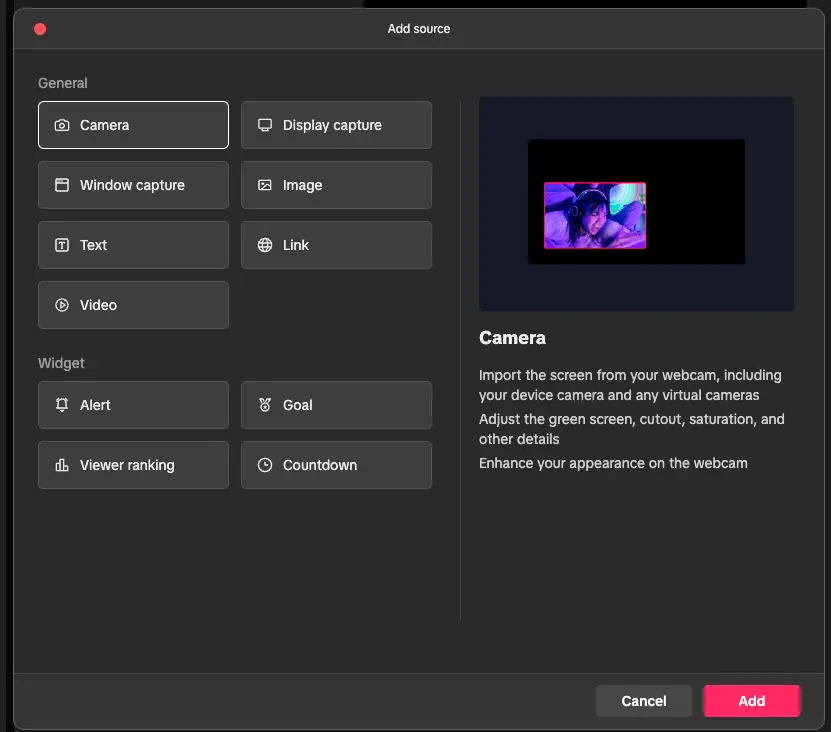
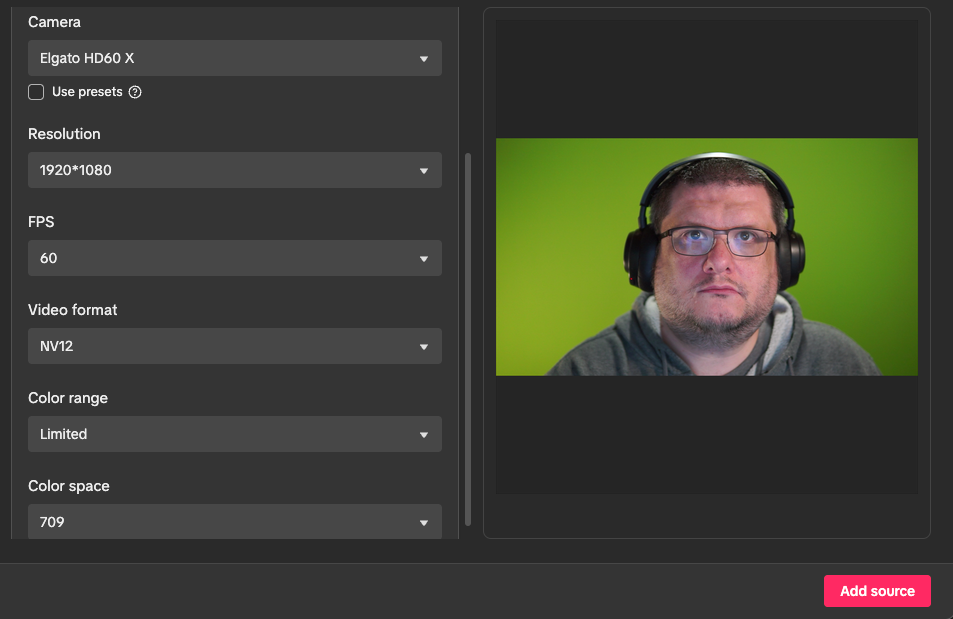
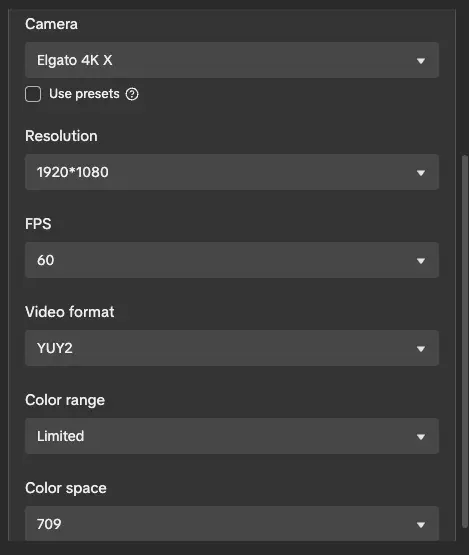
Click Add source, click Camera, and click Add. As long as your camera is connected to your Mac, it should be in the list. For mine, my camera is connected to a capture card, so I pick that.
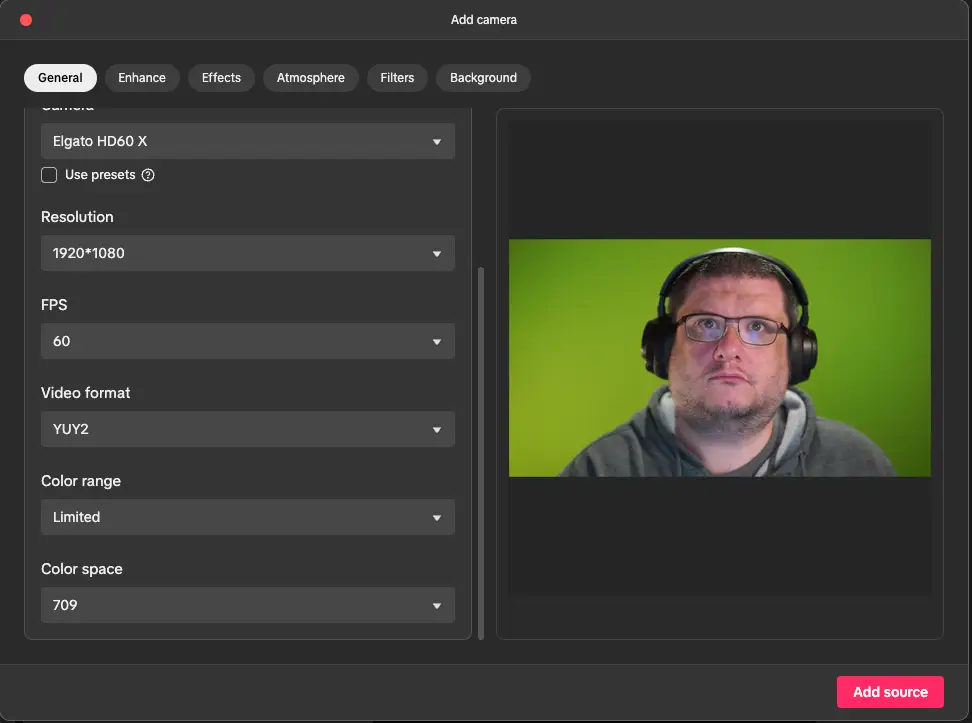
Your resolution, FPS, and video format are going to depend on your camera. Mine supports 1080p at 60 FPS. You will want to know what yours supports. This is usually printed on the box, but if not, search your specific camera online. For video format, the order from best to worst is XRGB, YUY2, NV12. I’ve only seen YUY2 and NV12, and although YUY2 is supposed to be better, I’ve always used NV12. Writing this article is when I realized I had that set wrong, so if YUY2 is an option, choose that. Color range should default to Limited, and Color space should default to 709. No need to change these. Once you click Add source, your camera will show up in your canvas.
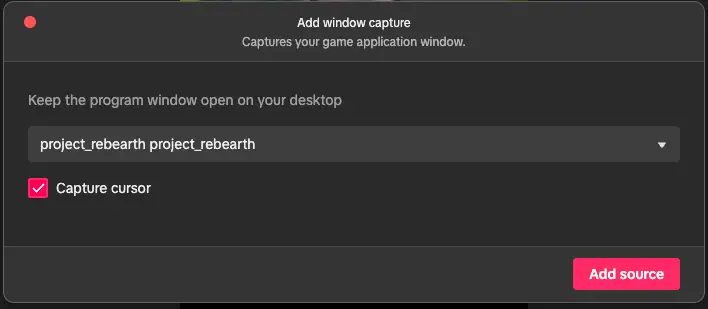
We need to fill up the bottom two thirds, so let’s keep working. Next, we need a gameplay source. For me, this is my Xbox via a capture card. If you’re streaming from your PC, you will need to use either Display capture or Window capture. We’ll go through both in an accordion so you just need to read the one that applies to you:
In the current version of TikTok LIVE Studio, adding a capture card is the same as adding a camera. Select Add source, and add a camera source. Choose your capture card from the list. Like before, we will set this to what our card supports. Although the 4K X supports 4K60 capture, TikTok LIVE Studio presents a warning when selecting 4K, so I choose 1080p, 60 FPS, YUY2, Limited, and 709—like I did with my camera.
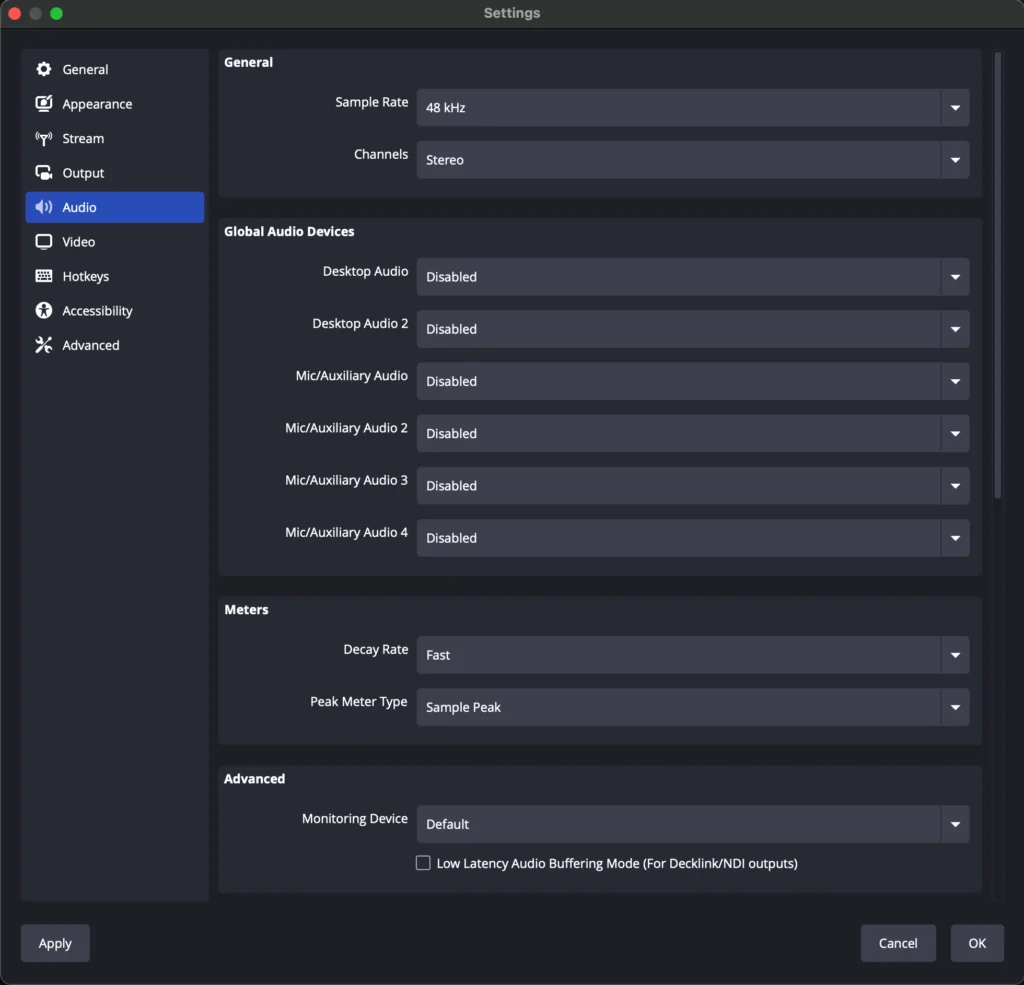
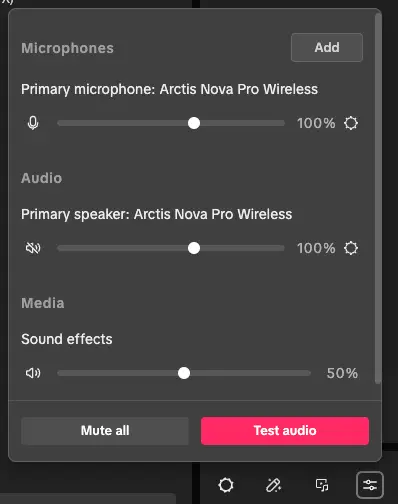
Adding a camera will not capture audio. For that, you need to go into the audio mixer settings and click Add.
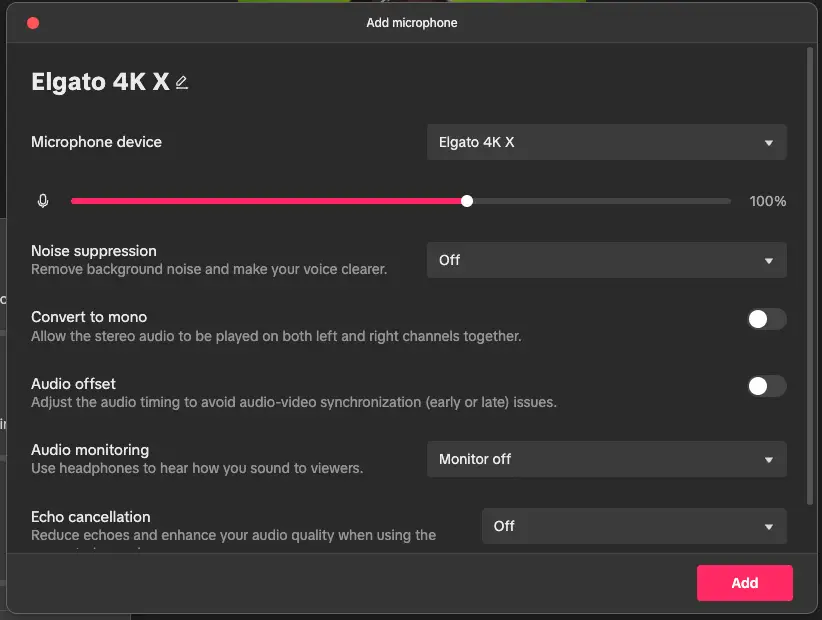
Add the same capture card as above, and turn off noise suppression. Click add. Your capture card’s sound will now play through the audio in the bottom. It will play through the microphone side, which is not ideal as it makes it more difficult to balance microphone and game audio, but it’s currently the only way to have audio work on Mac.
If you’re a Mac gamer and you want to capture and stream games on your Mac, this is the section for you. It’s much easier than capture cards, thankfully, as you don’t need to mess with audio. Simply click Add source and choose Window capture. The app needs to be open when you are doing this, then you select it from the list.
Once you click Add source, your game appears in the screen. One small warning here: TikTok LIVE Studio plays all desktop audio through one audio source, including screen capture. If you want to split things like Discord, music, browsers, and games, you’ll need an audio interface that can do that. I use Elgato Wave Link. SteelSeries Sonar is not currently available on Mac.
Whichever above method you choose, your capture won’t fill the screen on portrait, so you’ll want to stretch it out. I aim for 2X here, filling the remaining two thirds of the screen.
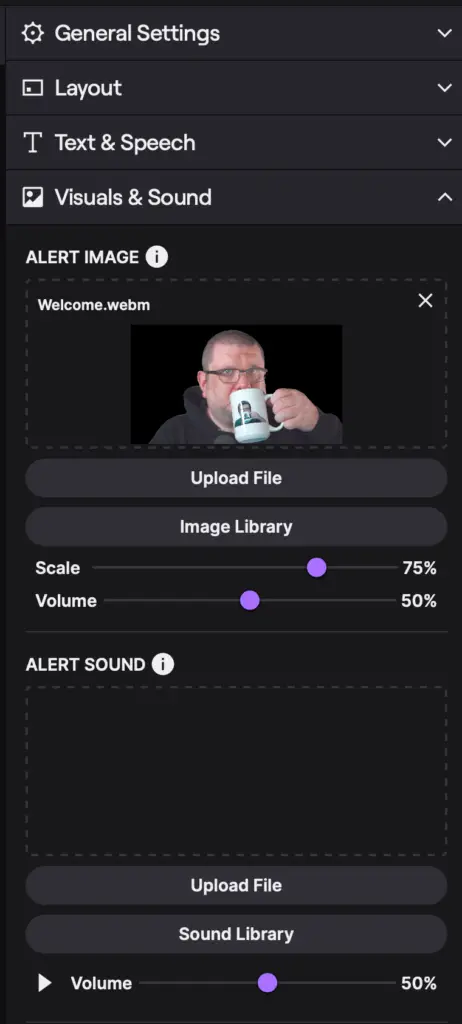
Alert Box
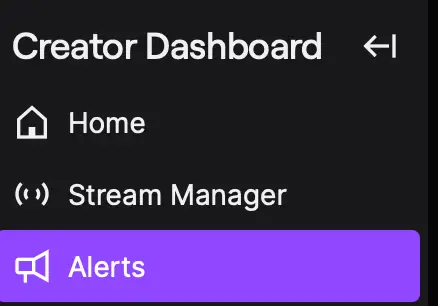
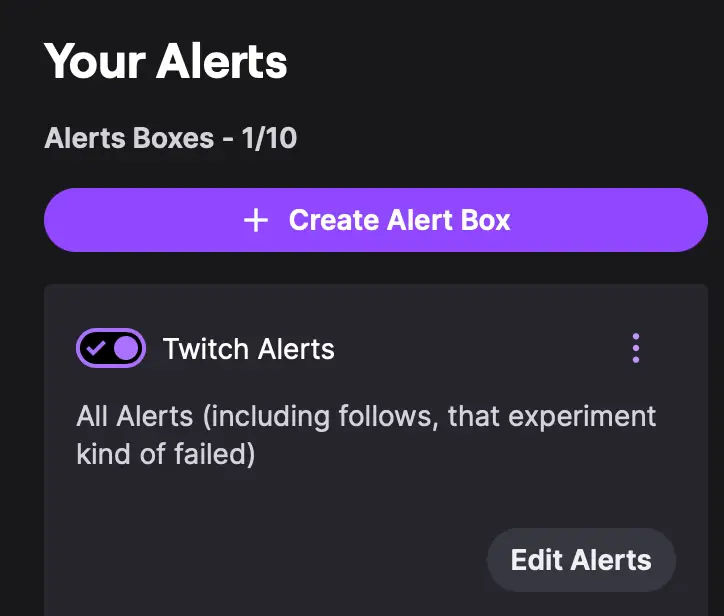
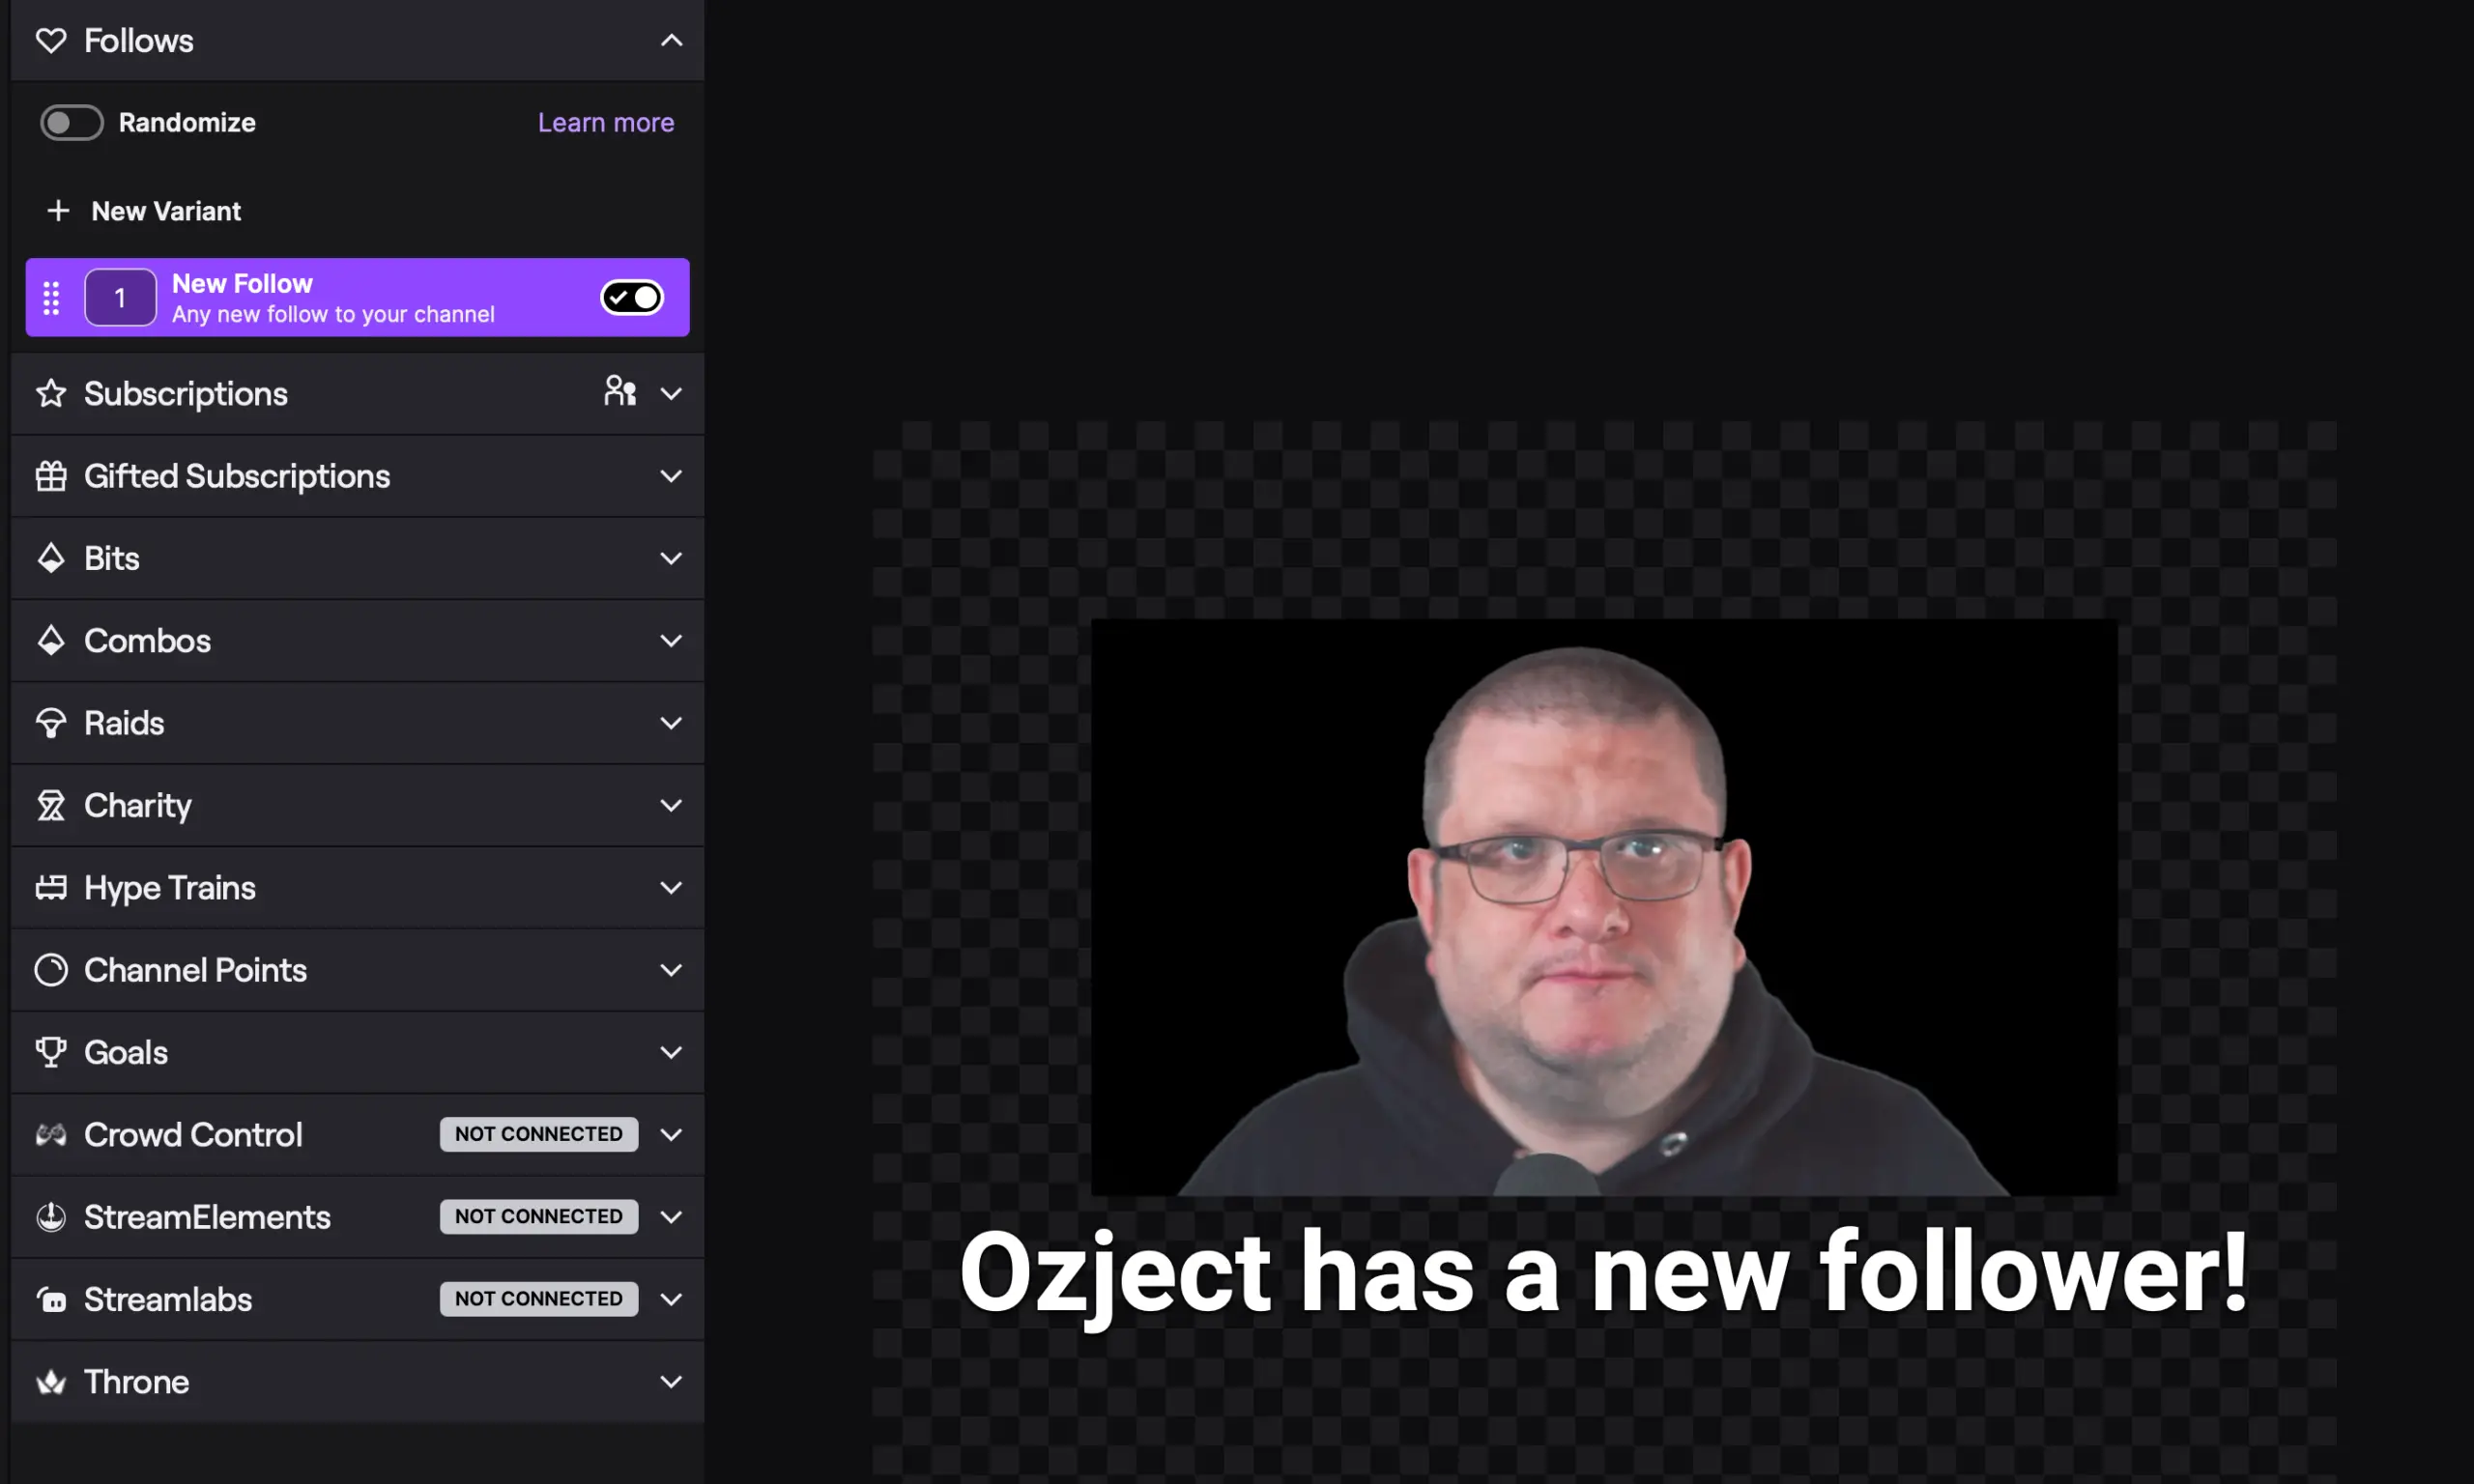
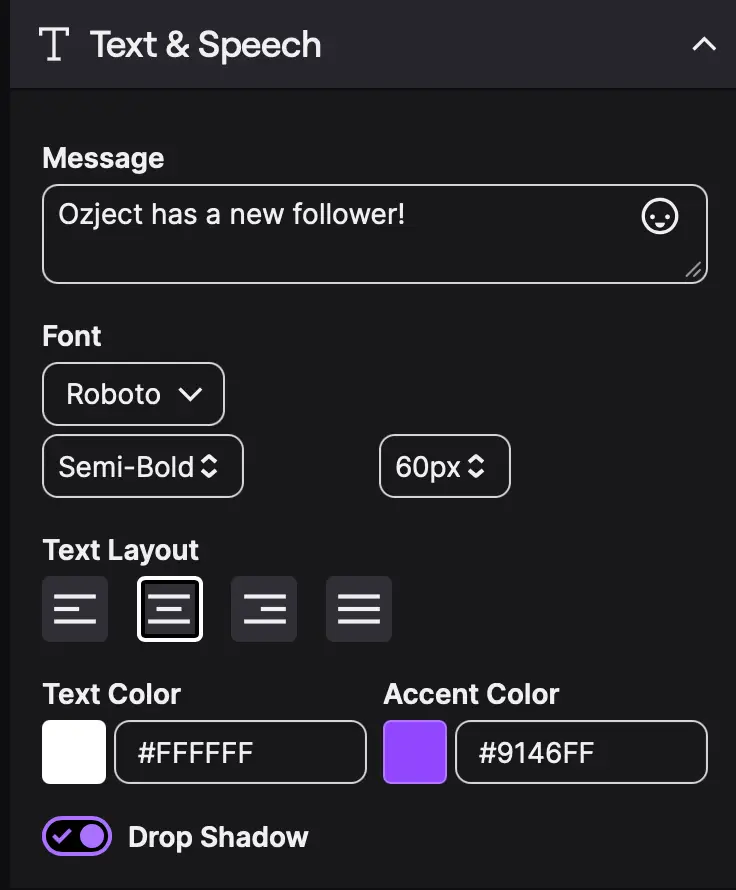
The last what I could call necessary source is an alert box. The alert box will play a sound for you when someone follows or sends gifts. It does not interfere with full-screen gifts like the Galaxy, but it does make sure you don’t miss them—as the animation does not play on your live preview. Like Twitch Alerts, you can upload custom sounds and images to personalize your alerts.
Less Important, but Still Worth Mentioning
Goals and viewer rankings can increase engagement, but they also cause quite a lot of clutter. Anthony Bourdain once said about burgers, “Am I making it better? Am I making this more enjoyable by adding bacon?” Maybe the alerts are the cheese, or the bacon, but goals might be the slice of tomato that’s just a little too thick. The viewer rankings are the condiments. Ketchup and mustard? Probably fine. Mayoracha? Now you’re getting risky.
Checking your Video Settings
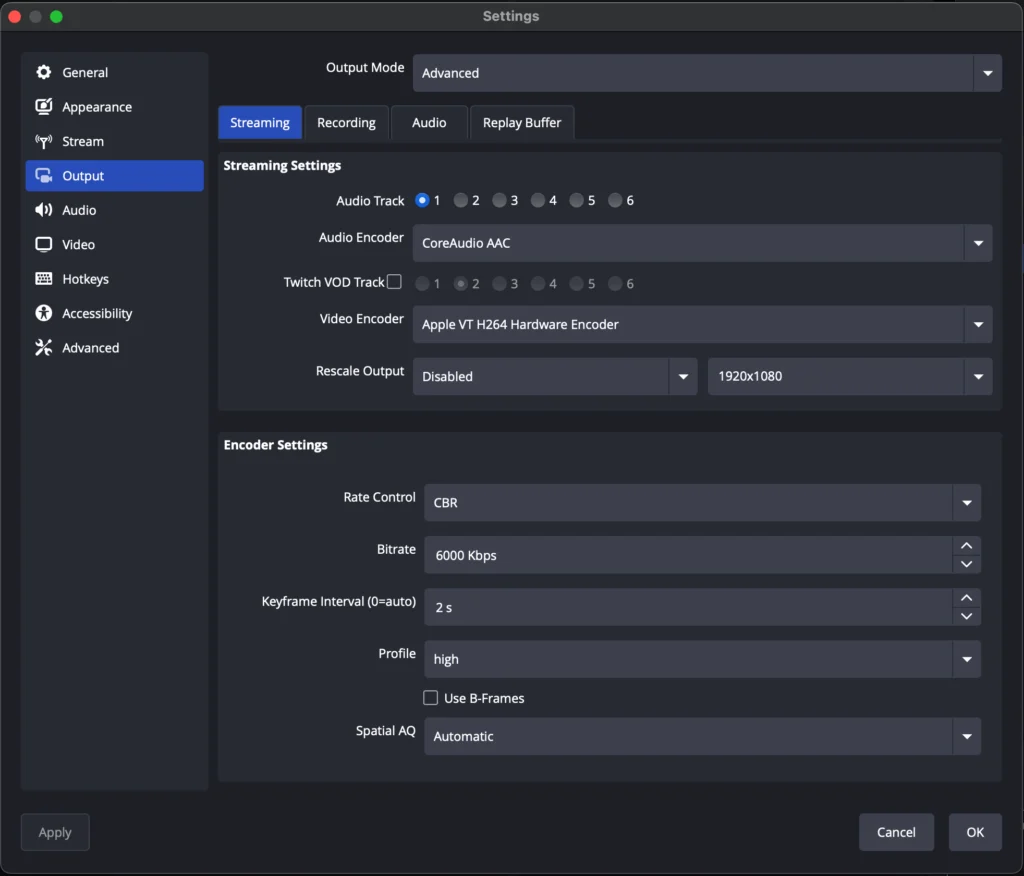
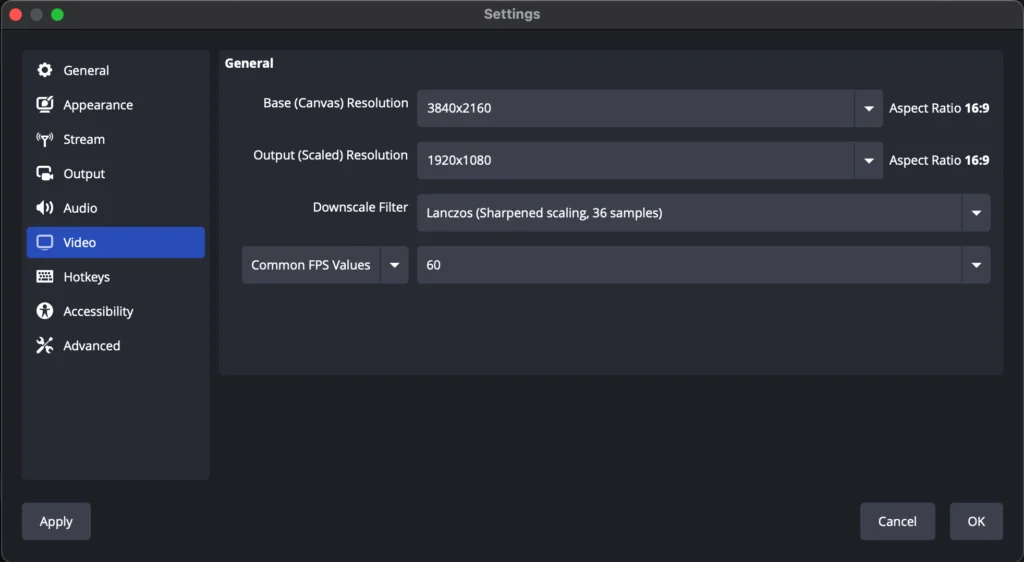
When I ran the automatic setup at the start of this post, it said 1080p, 60 FPS, 6400 bitrate. Upon checking, it was set to 30 FPS, so we’re going to verify LIVE quality is where you want it to be.
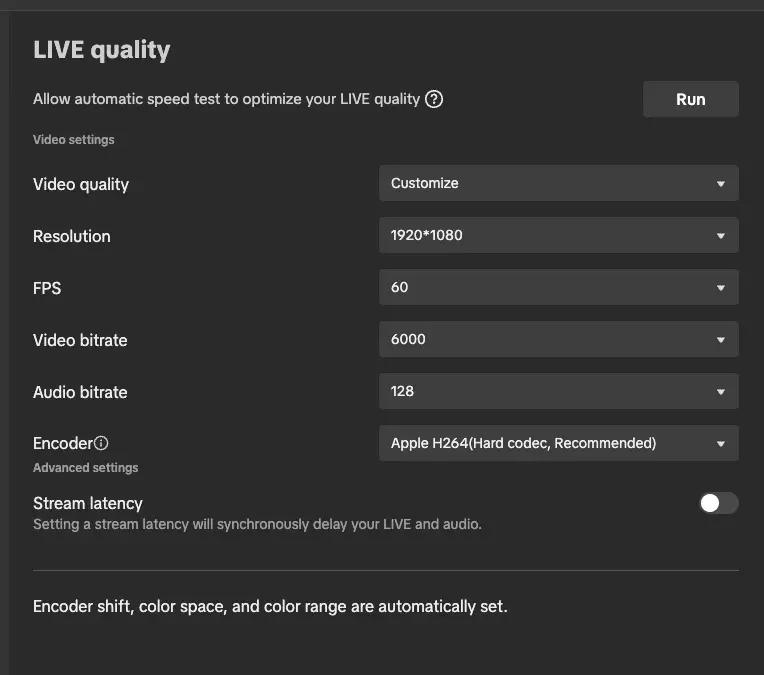
TikTok works best at 1080p or 720p, and 60 FPS is what you want for fast-paced games, while 30 FPS is fine for simulation and slower games. For 1080p, 6,000 or 6,400 bitrate seem to be the range the software wants you to use, even though you can set it as high as 10,000. For 720p, 4,800 to 5,000 would be good options. For audio bitrate, I would like 192, but again, the software tells me that’s too high, so I set it to 128.
Your encoder is going to be an important selection. Apple’s Silicon chips have built-in encoders, and while they are most efficient encoding ProRes video, they are still pretty good at H264. Make sure you select Apple H264 so you don’t have any issues. If you play a game where stream sniping is a problem, Stream latency is here to help—just remember it’ll make your responses to chat appear slower. Some games offer a streamer mode that introduces a hidden matchmaking delay, so that is the better way to solve that problem.
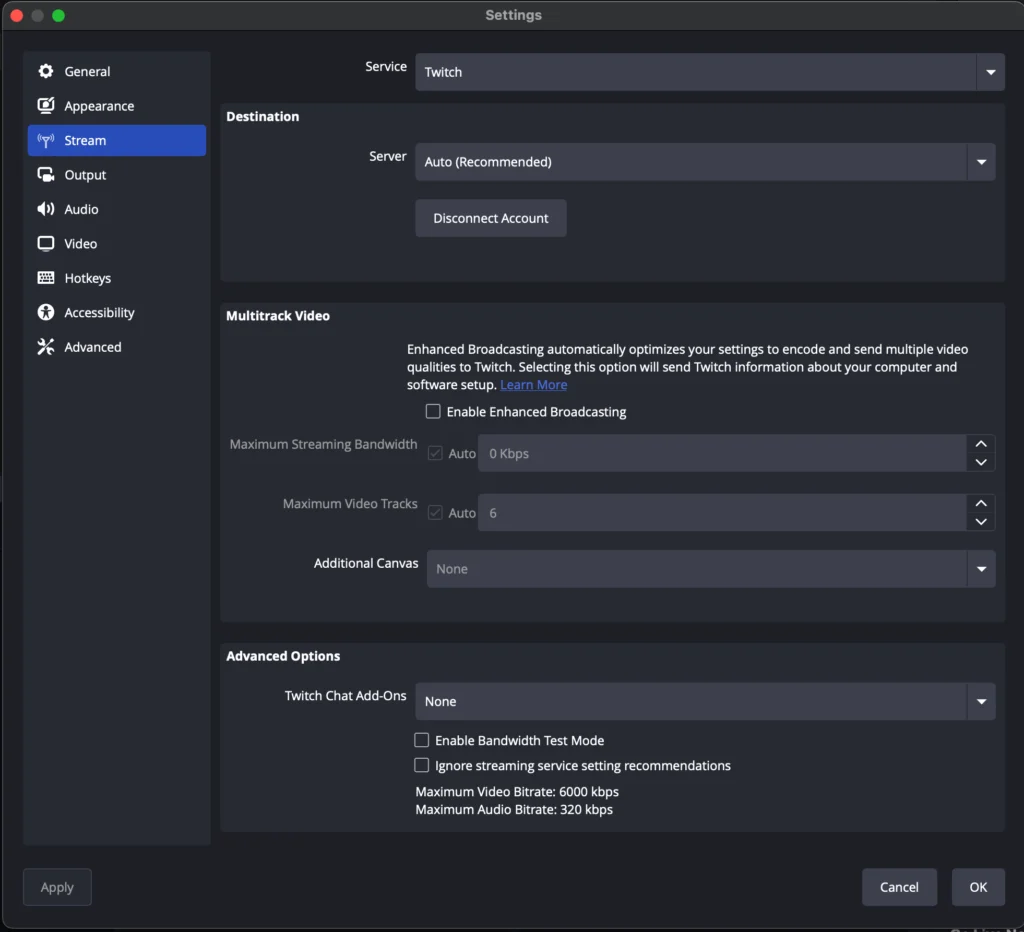
If you stream with both OBS and TikTok Live Studio together, be careful not to overload your encoder. Apple Silicon can do a lot of things, but not as many as NVIDIA NVENC.I use a Mac Studio with an M4 Max and have easily hit the encoder limit when multistreaming. The only way to know the limits is to test and correct repeatedly until you figure it out. I’ve learned that I can send three streams to Twitch, one to YouTube, one to TikTok, and record in ProRes LT without overloading my encoder, but only if I do 1080p or below. If I want to stream to Twitch at 1440p, it requires sacrifices elsewhere.
Finally, going Live
One final check to make sure your microphone is set up, is to go back into the audio mixer window and ensure that Primary microphone is the right one. You can record yourself to make sure the game and voice volumes are appropriately set. I usually lower game volume down to around 60 or 70% to make sure the game doesn’t overpower my voice.
The key with a new software is not to overthink it. Get your baseline built, do a quick test, and then go live. You cannot predict everything that might happen, so go live and do your best. Then, watch back highlights or moments after to figure out what to improve, just like you would with OBS and Twitch.